Showing posts with label DIY. Show all posts

Monday, December 5, 2011

Christmas Pictures

I have really enjoyed taking my own pictures of the boys instead of doing studio sittings... reason 1- we aren't in a position to spend money on that, and reason 2- I like being creative and pretending I can take good pictures.  Well it was easy when Oliver was a wee li'l babe... got a little difficult when he started rolling and crawling... got REALLY difficult when he could walk... and now that he's a little lunatic jumping around, it's just about impossible to sit him in a small space for a picture.

So here is what I got out of my Christmas "photo shoot" of the boys...not at all what I hoped for!


I was so angry!  Nate was trying to be my voice of reason "He's nearly 2...you're not going to get him to sit still...he's doing very well for hardly napping today"

Yeah yeah yeah.  But I wanted to get a picture that makes everyone tear up at the beauty of my two little ones this holiday season... so I was pretty bummed that my vision and the realities of having a toddler were (once again) out of sync.

At least I have Owen who is too little to ruin my photography aspirations.


I didn't get what I wanted but I did manage to get some passable photos for a Christmas card.  I can't wait for them to get here and to send them out!

Here is a sneak peek...


Monday, September 5, 2011

Happy Labor Day

This is what our holiday weekend looked like.

A trip to the playground where we learned Oliver makes an excellent fitness trainer... he had Nate running laps and suicides while carrying him.  Poor BDNP was exhausted but loved running around with his boy.


Operation re-finish the basement and build a family room.


Ice cream break at DQ.

Saturday, July 30, 2011

Bathtub Picasso

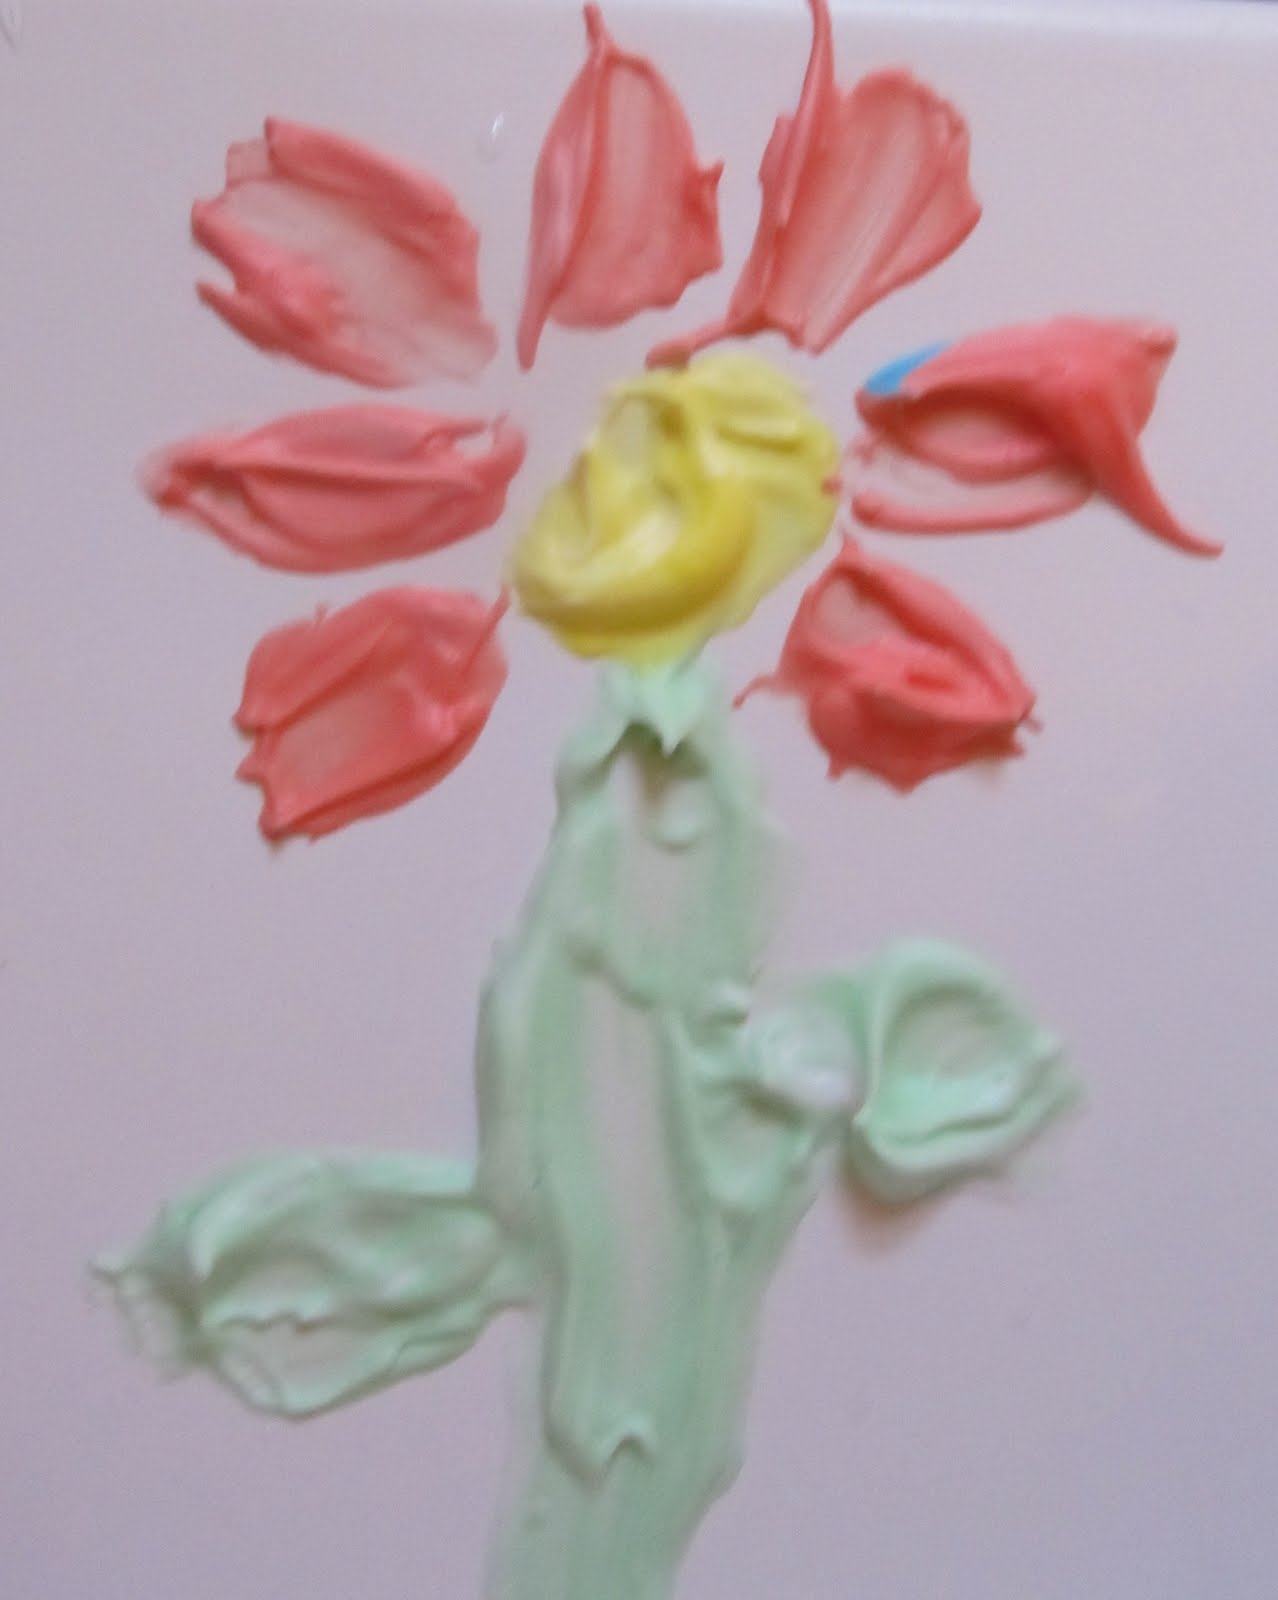
I saw this (on Pinterest, duh) and thought it was a very clever idea to entertain Oliver before bed. 

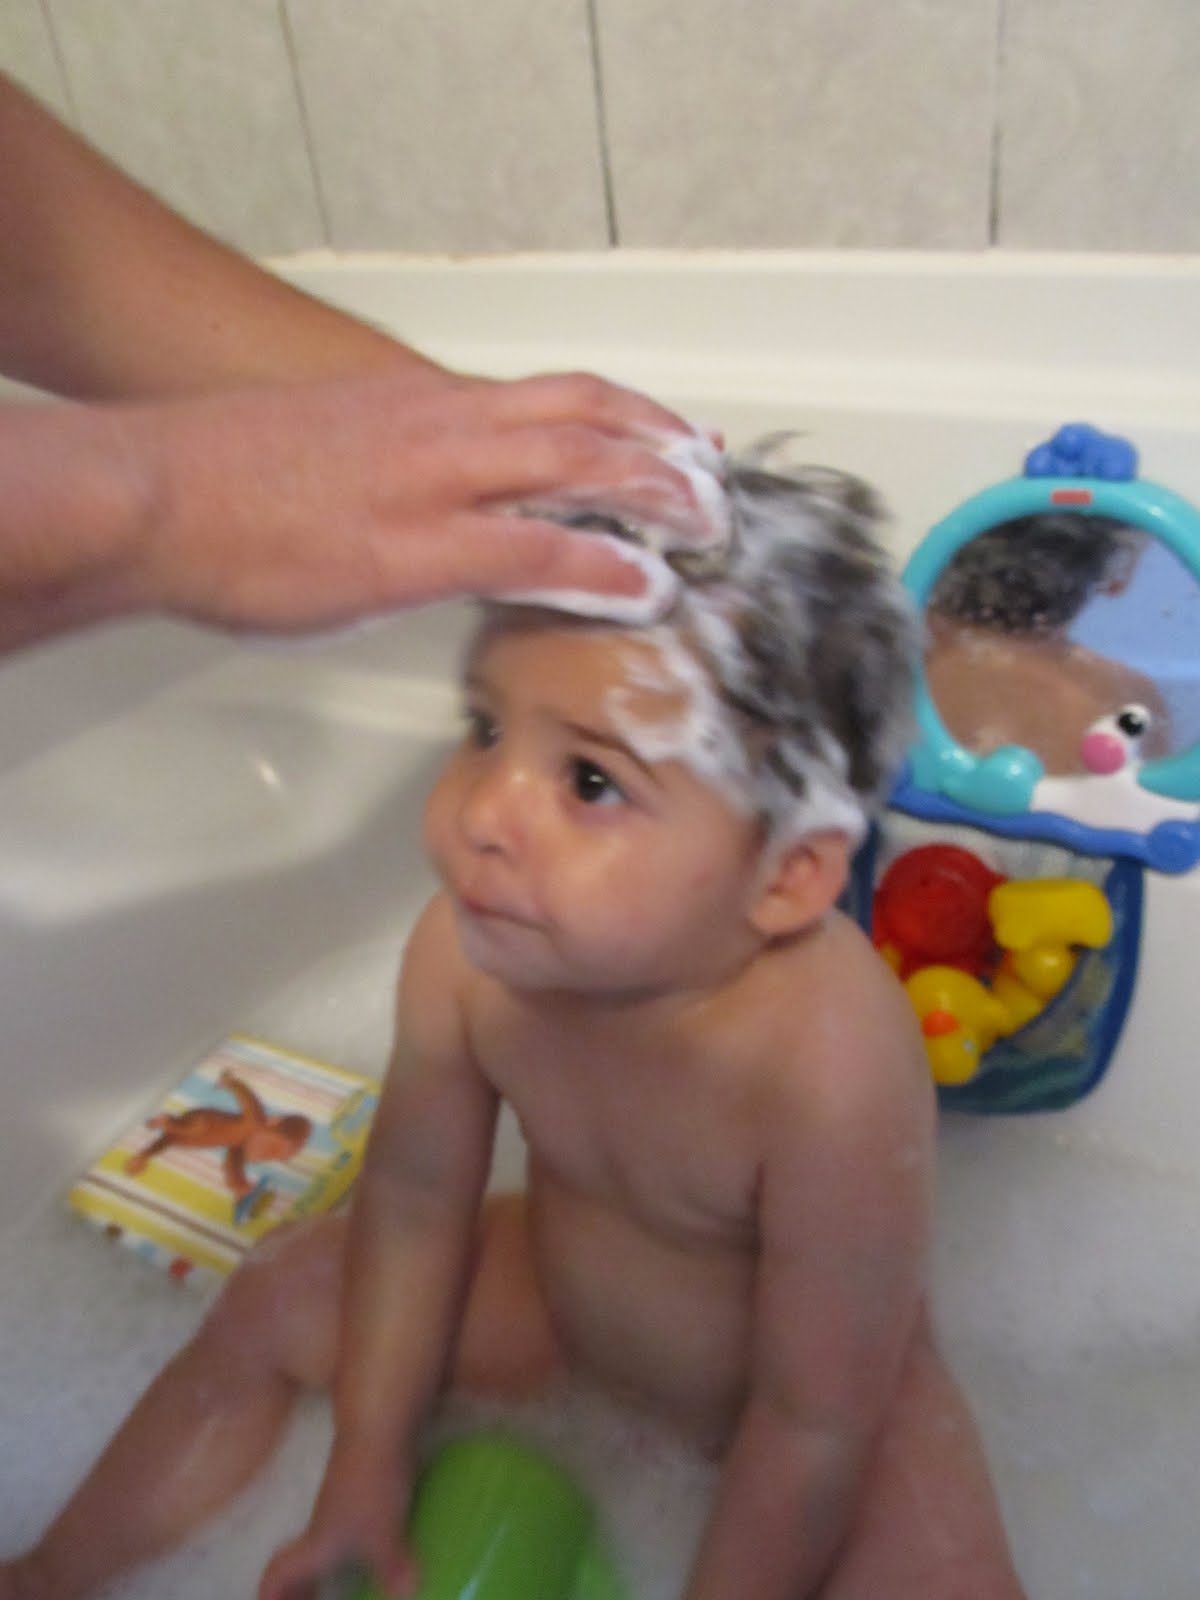
Bathtime is a favorite of his, although sometimes he gets scared of the tub.  He HATES the empty tub or water running in it.  We learned early on- when he had a poop-explosion up his back and we'd hold him over the tub to rinse him off... oh, HE HATED THAT! 

But I figured he'd like this, I don't know why.  I think I'm really pushing art on him and he's not buying it.  We just put a little water in the tub and sat him in there with these tub paints I made.  Shaving cream mixed with food coloring = foamy bath tub fun.  He was not impressed.  I thought it was cool.  And I'm sure any other kid would too.  Oliver just wanted his hair washed.


See, I had fun with the paint.


"Dad! She's not listening! I want out!"


"Better."


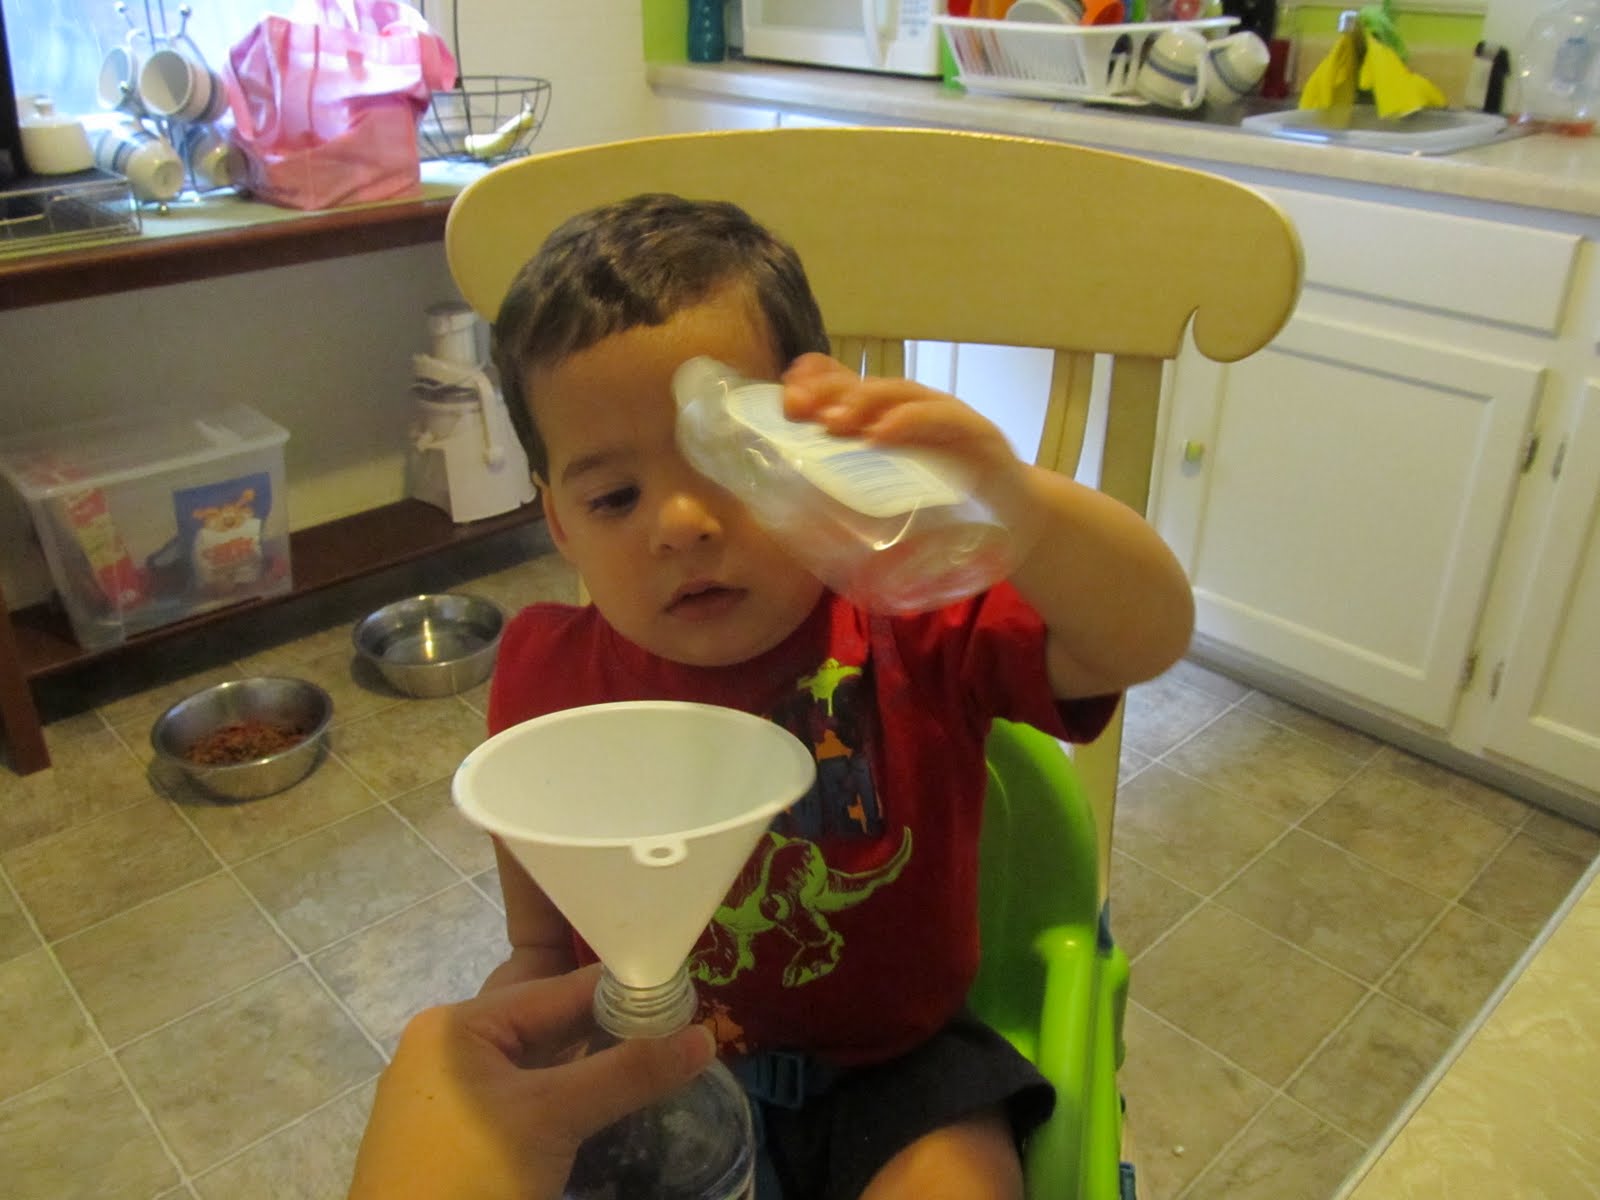
Sensory Bottle Project- another attempt to keep this kid busy.

What's that Oliver...you're getting antsy?  Quick have a seat and lets find something to do!  (Other than go through every DVD we own! yeah that's a fun new game!)

Again- Pinterest.com comes to the rescue with this toddler craft.

Using soda bottles, water, food coloring, baby oil, corn syrup, glitter and sequence we made some "Sensory Bottles".  The glittery one (half water, half corn syrup, glitter and junk to float down) came out cool once it settled a bit.  The "lava lamp" bottle was a bust.  It turned out more like those kids cups with the dolphins that balance on top of the water no matter how you flip them.  I should have filled it completely so that the baby oil would be forced through the water?  Eh whatever, we'll prob try again.


He did MUCH better with this than I anticipated. 


My mad scientist got a KICK out watching the corn syrup drip through the funnel...wasn't expecting that.


He also appreciated the food coloring spreading through the water.  Yes, the ENTIRE bottle of coloring.


Apparently, my son is a monkey who needs to explore things with his feet.


Tuesday, July 26, 2011

Keeping Busy Day 2


Today we made toddler crayons.

Somewhere I have old Crayola crayons, but I'm not sure of where they ended up in the new house (garage with my scrapbooking supplies most likely...I should really look) so Nate picked up a pack of crayons at the drugstore for me last night.  As far as I'm concerned Crayola is THE ONLY crayon worth having, but whatever this worked.

While I worked on getting the crayons unwrapped and snapped, I set Oliver up with some scratch paper I picked up at the Lakeshore Store.  He liked it, but just like when he uses crayons and barely makes a mark on the page, he doesn't have enough force to actually make a rainbow scratch.


He did REALLY well putting the pieces of crayon into the cupcake tray.  I guess since we've only done edible things in the past and he was in his booster where he eats he was a little confused and brought the pieces to up to his lips and then caught himself a few times.


I melted the crayon pieces down for 15min at 275 degrees, which is warmer and longer than the Martha Stuart site says to but the blog I found this on says they took longer (and hotter) than Ms Martha said.  I'm actually not sure if mine melted too much.  They looked ok taking them out of the oven, a little too mixed into one color than I expected and I was pretty sure I F'd up when I saw how gross the had hardened up.  When I popped them out of the mold all the color had sunk and the reverse side looked all cool and marbly.


I was hoping Little Monkey would have more interest in these than regular crayons, and that the size and shape would make it easier or him.  We're getting there.  He enjoyed them a bit.  Next time we'll use my scrap Crayola brand crayons.  That ought to do the trick.


Wednesday, July 6, 2011

What's Cookin', Good Lookin'?

Welcome to my kitchen. 


Well...this is not my kitchen. This is just what happened to be there. Too white. Too boring. Too small?
It's certainly not our "Forever Kitchen", but with my SAHM income (or lack thereof) it is definitely our "For A Long Time Kitchen".


 First things first- add a polar bear skin rug...oh wait, that's Genie, as always finding the most convenient place to lay.


Ok- first things first..for real this time: repurpose a sofa table we had from the condo. I really wanted to get a kitchen cart or island from Ikea, but realistically this worked much better. It was the perfect height to go under the window and it is very narrow so it doesn't make walking through the back door (to the left, faces the table) awkward, which was a concern of mine because the fridge is next to the door. AND we already had it...much more budget friendly.


For now, we have also repurposed the bistro table we had out on the balcony of the condo. Eventually we will figure out a more permanent kitchen table. Really, this is the only eating space but it is ridiculously small and awkard. Can't go too close to the oven and it can't stick out too far because of where the fridge and the entry from the hallway are. Basically, I have to figure out how to fit everything in and NOT have to twist and turn and side-step around things. So the search is on for a breakfast table that is bigger than this, but not too big. I would love a pub table so it makes for extra work surface, but I don't know how it would go putting Oliver's booster seat on a high chair like that.
I picked up some affordable shelving from Ikea. Didn't measure, of course, and I had intended for the metal shelf with the spice rack to go on the side of the window above the former sofa table, now coffee bar (once I order some more coffee that is).  It didn't fit AT ALL, which is why the mismatched shelves are next to eachother... and I dont hate it.  Kind of like it.  I like that having shelves frees up some cabinet space which is sparse to begin with. I had all the cabinets pretty figured out... and then I remembered that Oliver had an entire cabinet to himself between bottles and breast pump pieces and bibs and spoons and baby food and...well, you know all the things those little monkeys need! Now his plates and cups fit in with our stuff, but we have Little Stinker on the way, so I want to make sure I get used to having a space set aside for all his stuff to go.

And the color makes me so happy!  Granny Smith Apple.  Loving the brightness and the life it breathe into the space.


 So here is an overall shot of the kitchen.  To the left is the fridge and to the left of the fridge is the back door (facing the same way).  So the layout of the fridge and the doorways makes it a little awkward trying to get a table in, but I am very happy with the size of the kitchen.  It has less cabinet space and counter space (and no dishwasher! ahhh!) than the condo had...but I absolutely HATED being in the kitchen in the condo.  It had no windows and was a smaller space. Now, I don't mind being in there because I don't feel so claustrophobic in it...I don't even mind the extra time it takes to handwash all the dishes! Crazy, right?!


Speaking of dishes....I just needed to share the ridiculous amount of dishes and utensils I always seem to use when I cook.  I don't know what my problem is... but I definitly use much more than necessary.  There were more dishes on the other side of the sink, too.  It included a few dishes from throughout the day also, but still, that's a lot!


When it came to cabinet knobs I needed to add a little personality (some of my inner goofball) and strech my craft muscle.  I bought plain wood knobs from Home Depot, used the same Granny Smith Apple color from the walls, added some more color from the random acrylic paints I had in my craft bucket, and glazed them with some brush-on Modge Podge (LOVE that stuff!).  I did some searching on Google and Etsy and found quite a few hand painted wood knob ideas and listings.  I had so much fun and it was such a quick craft I think I may start busting these out for Etsy myself!  Any buyers?  I love the light heartedness of them... so simple, but they make me so happy.

So what's the verdict? How did I do?  I feel like this is the first space we have pretty much finished.  The babies' room has been painted and Oliver's furniture is in it, but it still needs a chair rail added...oh yeah, and a crib for Owen!  The master bedroom is painted also, but not fully put together yet. 

The bathroom is about done I guess, but there have been plumbing issues that will be finished with tomorrow.  The pedestal sink had a leak in the back that turned out to be more than we expected, and the tub is disgustingly slow.  It's so gross and needs to be snaked.  Oliver still uses an inflatable ducky tub insde the tub so he's been able to bathe and Nate has had to shower in it, but I am so skeeved that I won't stand in it.  I wash one body part at a time with the hand-held sprayer, pretty much bending over the tub.  I can't wait for that to be taken care of.

Oh what the hell- here's the bathroom.


Before: Bare bathroom still sporting the winterized sticker on the pot, and some weird arms we assume were for shelving (there was a random glass shelf in a hall closet).  There is tile from floor to ceiling so adding shelving is not that easy, and having a pedestal sink means no storage there either.  Ahhhhh! Again...condo bathrooms were much bigger (and there were two!).  But being homeowners so outweighs the downsizing and adjusting.


After:  The yellow and blue really breathed life into the bathroom.  The duckies are so fun and make me so happy.  We also found a rack at Target that stands under the pedestal sink, curving around it to take advantage of that awkward space.  "Yay" for some added storge.  "Boo" for the awkwardness and toddler accessability.


We finally got Oliver a hooded towel that covers him! We were still using his newborn towels!


Thursday, June 2, 2011

Haircut Day

Today Oliver and I were stuck at home all day while my van was being worked on.  I decided to take advantage of not doing anything to tackle his haircut.  I swear I just did this! All of a sudden his hair looked as long as it did before his first haircut only a month ago!  Grooming this child is no easy task.  Part of the reason I decided to try myself was because I didn't believe he would do well sitting still to get it done somewhere, and I was right.  He fights it soooo hard!  Jerking his head, pulling at my hands, blocking with his fingers.  Ugh, it's terrible! 

He gave me a verrry hard time with it today, but overall it was done pretty quick and I did even better than the first time.  Just a little while ago I did the husbands hair too.  So two haircuts, on top of changing the flushy-flappy thingy in the toliet tank myself, I MUST saved us at least the $600 that the work on my van is costing us, right?  Wah. Darn automobile.

Oliver before:

Oliver after:


This was as good as I could get at the moment.  Gosh he fought it hard!  You'd think he was Hercules and I was stealing his strength!  I was able to clean it up a bit more later.


Daddy before:

Daddy after:
(giving his best Oliver squishy smile) 


And then there's me...still with the frizzy animal on top of my head! (sorry, no picture to rpove what a wreck I am because A: I look a wreck, and 3: I'm the one taking all the pictures). Do I dare attempt my own do? Nah!!!

Vote For Us @ topbabyblogs.com!